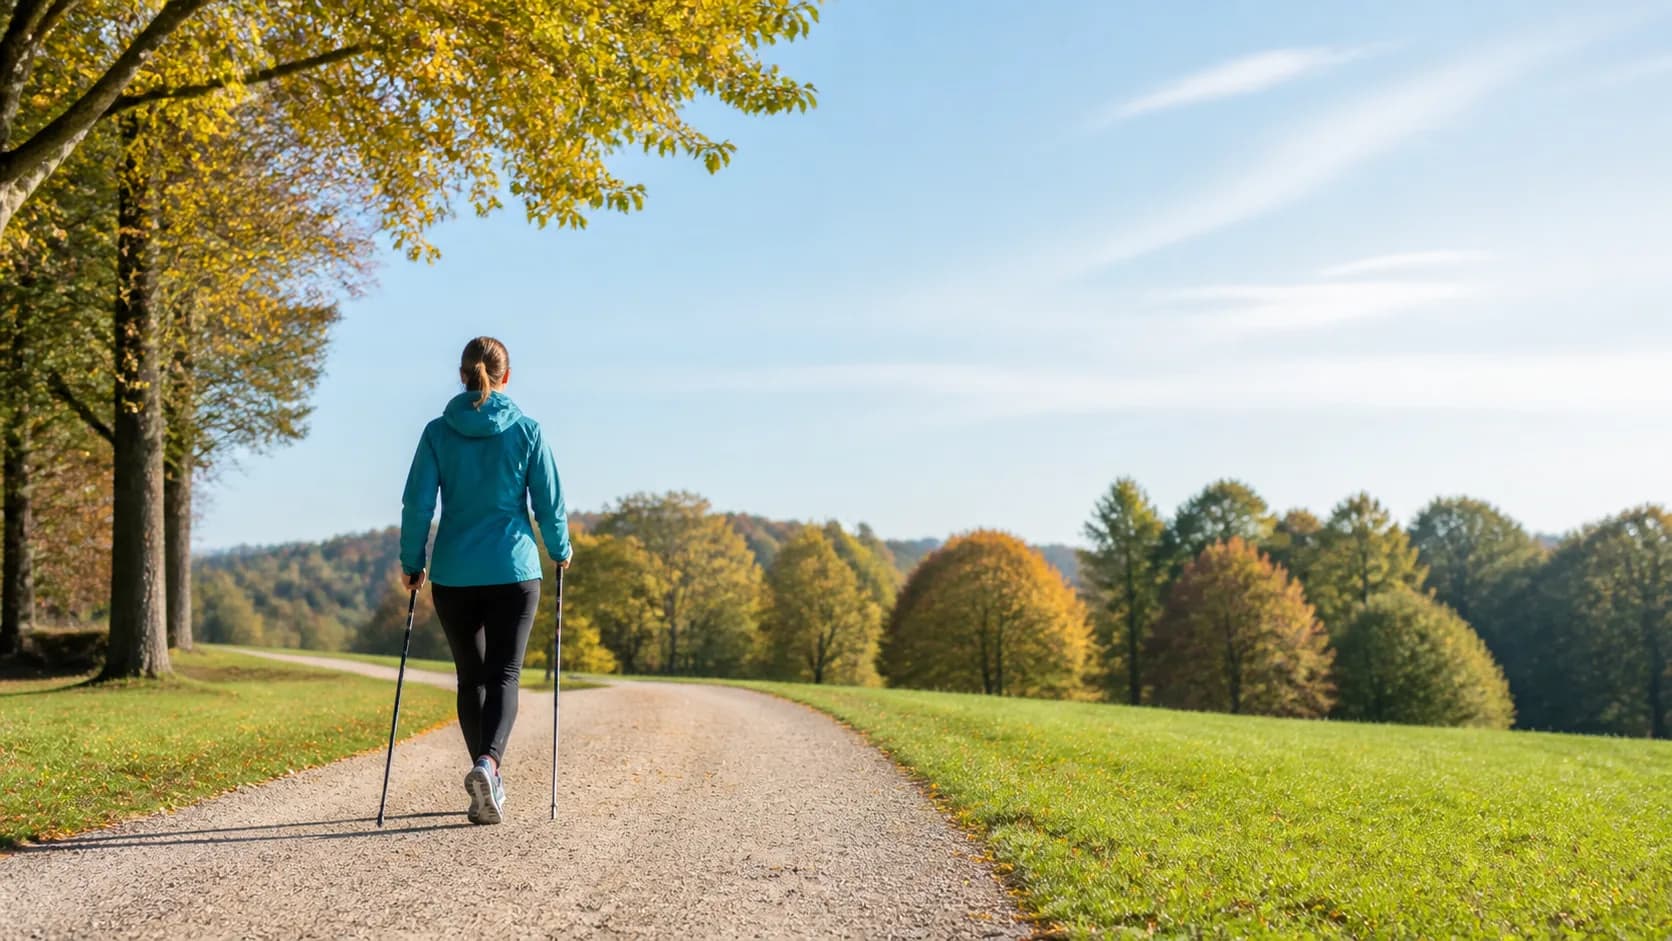
Nordic walking adds purpose-built poles to a normal walking pattern. When used with a relaxed arm swing and a gentle push behind the body, the poles can involve the upper body and make a walk feel more active without changing it into a run.
The poles are not hiking poles used merely for balance. Nordic walking poles are designed for a rhythm that moves backward through the step. Technique matters more than buying the most expensive pair.
Why people enjoy Nordic walking
| Feature | Practical effect |
|---|---|
| Pole-assisted arm swing | Adds a whole-body feel to a walk. |
| Upright rhythm | Can cue taller posture and an engaged stride. |
| Outdoor structure | Gives walks a new skill to practice. |
| Adjustable intensity | Faster cadence or hills can make the same route more demanding. |
It is not automatically suitable for everyone. Poles add coordination demands and can be awkward on crowded paths, icy surfaces, or trails with obstacles.
Basic technique cues
- Walk normally while dragging the poles lightly behind you.
- Let the opposite arm and leg move together naturally.
- As the pole hand passes your hip, press gently backward rather than planting it far in front.
- Relax your grip as the hand moves behind you; do not clench the handle.
- Keep the movement smooth before trying to walk faster.
Learning with a qualified instructor can be useful, especially if balance is a concern. A few simple technique corrections often make the poles feel much less awkward.
Choosing pole length
Many manufacturers offer sizing charts. A common starting point is a pole that places the elbow around a right angle when you hold the handle by your side. Adjustable poles are helpful if you are between sizes or sharing equipment. Use the manufacturer’s chart for the exact model rather than assuming all handle designs fit the same way.
A first-week plan
| Session | Plan |
|---|---|
| 1 | 15 minutes on flat pavement, practicing relaxed arm swing. |
| 2 | 20 minutes, adding a gentle backward push. |
| 3 | 20–25 minutes on the same route, focusing on rhythm not speed. |
| 4 | Optional easy hill or longer flat walk if coordination feels natural. |
Stop if the poles cause wrist, shoulder, or back discomfort. More upper-body involvement is not a reason to force a movement that feels wrong.
Stepsly can help you keep the larger walking habit visible through daily goals, history, trends, records, and widgets. It does not identify Nordic walking automatically or replace instruction on pole technique.
For more outdoor-walking ideas, read walking for bone and joint health, how to start a walking habit when unfit, and use the Daily Step Goal Calculator.
Nordic poles are not the same as hiking poles
Hiking poles are often planted ahead of the body for stability on uneven terrain. Nordic walking poles are used in a backward-driving rhythm on relatively smooth walking routes. The straps, grip shape, tip, and intended technique may differ. You can certainly use hiking poles for a hike, but do not assume a hiking-pole technique creates the same movement or that a Nordic pole makes a technical trail safe.
| Situation | Better question to ask |
|---|---|
| Pavement or a smooth park path | Can I practice rhythm without crowding others? |
| Gravel or wet leaves | Is the surface secure enough for a new coordination skill? |
| A steep hiking trail | Do I need stability and route planning rather than propulsion? |
| Crowded sidewalks | Can I keep poles from creating a trip or collision risk? |
| Shoulder or wrist sensitivity | Does the grip and push remain painless and relaxed? |
Practice on open, level ground first. Rubber tips can be useful on pavement when the pole manufacturer recommends them; make sure they are firmly attached before setting off.
Technique errors that make the poles feel worse
- Planting far in front. This can interrupt the natural stride and put an awkward load through the shoulder.
- Death-gripping the handle. A relaxed hand allows the pole to move behind the body; constant squeezing can irritate hands and forearms.
- Trying to push hard immediately. Learn the timing first, then add a gentle backward drive.
- Using the poles to pull yourself uphill. Shorten the steps and reduce the hill instead of yanking through the shoulders.
- Choosing technical terrain to “make it count.” Smooth, familiar routes give you better feedback while learning.
A class or instructor can be useful because the movement is visible and easy to correct in person. Video can help with cues, but an instructor can spot whether the straps, pole length, and rhythm match the individual.
Progress by coordination before intensity
In the first few sessions, judge success by whether the opposite arm and leg move naturally and whether your shoulders remain relaxed. Do not compare the step total or calorie estimate with a regular walk. Nordic walking may alter arm movement and device behavior, and its value is not a number on a screen.
After the rhythm feels automatic, experiment with one change at a time: a slightly longer route, a gentle hill, a purposeful cadence, or a smoother push. Keep at least some walks pole-free so you can enjoy ordinary walking and notice how each style affects recovery.
Comfort, route etiquette, and recovery
Choose shoes appropriate for the surface and give people extra room when swinging poles. On shared paths, keep pole tips close to the body and stop before turning around. In low light, wet conditions, ice, or crowded spaces, a normal walk may be the safer option.
Upper-body soreness that resolves quickly can happen when you are new to poles. Persistent wrist, elbow, shoulder, neck, or back pain is not something to “train through.” Stop, check technique and pole fit, and seek individual advice if symptoms continue. People with significant balance concerns, recent upper-limb injury, or conditions that affect grip should get tailored guidance before relying on poles.
Sample routes for the first month
Variety is enjoyable only after the basic movement is familiar. In week one, use a level loop where you can stop without blocking others. In week two, repeat the same loop and add a short smooth extension. In week three, try a route with one gentle rise, walking normally on the rest of it. In week four, choose either a longer flat route or the gentle rise again—not both. Repeating a familiar route makes it easier to notice whether coordination and comfort are improving.
Bring poles only when you have enough attention for them. A rushed commute, crowded event, or icy path is a reasonable day to leave them at home. The habit does not fail because you take an ordinary walk.
What poles cannot do
Nordic poles may change how a walk feels, but they cannot correct a medical gait problem, make an unsafe surface safe, or replace strength and balance rehabilitation. They also do not guarantee a higher-quality calorie estimate or a particular body-composition outcome. Use them because the skill and whole-body rhythm make walking more engaging—not because they promise a result.
When the activity is enjoyable and comfortable, it is easier to repeat. That repeatability is the most valuable benefit for most beginners.
Track the skill separately from the distance
For the first month, a simple journal can be more useful than a route leaderboard. Note the surface, pole length or setting, total time, any wrist or shoulder discomfort, and one cue that felt easier. You may find that a 20-minute flat session improves technique more than an exhausting hill. This kind of feedback supports a genuine skill progression.
If you share the activity with a friend or club, agree on a route and pace that lets everyone control their poles safely. Nordic walking can be social, but it should never require someone to match a faster person’s stride or push through discomfort.
Finally, keep access simple: store poles where you can reach them, check tips and straps before leaving, and have a normal walking route available for days when pole practice is not practical. A flexible plan protects the underlying walking habit.
For additional planning context, see walking after 50 and walking for arthritis.
Sources, notes & disclaimers
-
Planning doses use the Physical Activity Guidelines for Americans (opens in a new tab): 150–300 moderate weekly minutes plus strength work on 2 days for most adults who can safely do so.
-
Regular moderate activity such as brisk walking contributes to recommended weekly activity: U.S. Physical Activity Guidelines (opens in a new tab).
-
This article is general educational information. Use appropriate footwear and terrain, and ask a qualified clinician or instructor for guidance if you have balance concerns, upper-body pain, or a condition affecting safe mobility.